How to Hang Curtains to Make Your Windows Look Bigger – Easy DIY Guide
Simple trick, big impact — it’s the easiest DIY you’ll tackle all weekend!
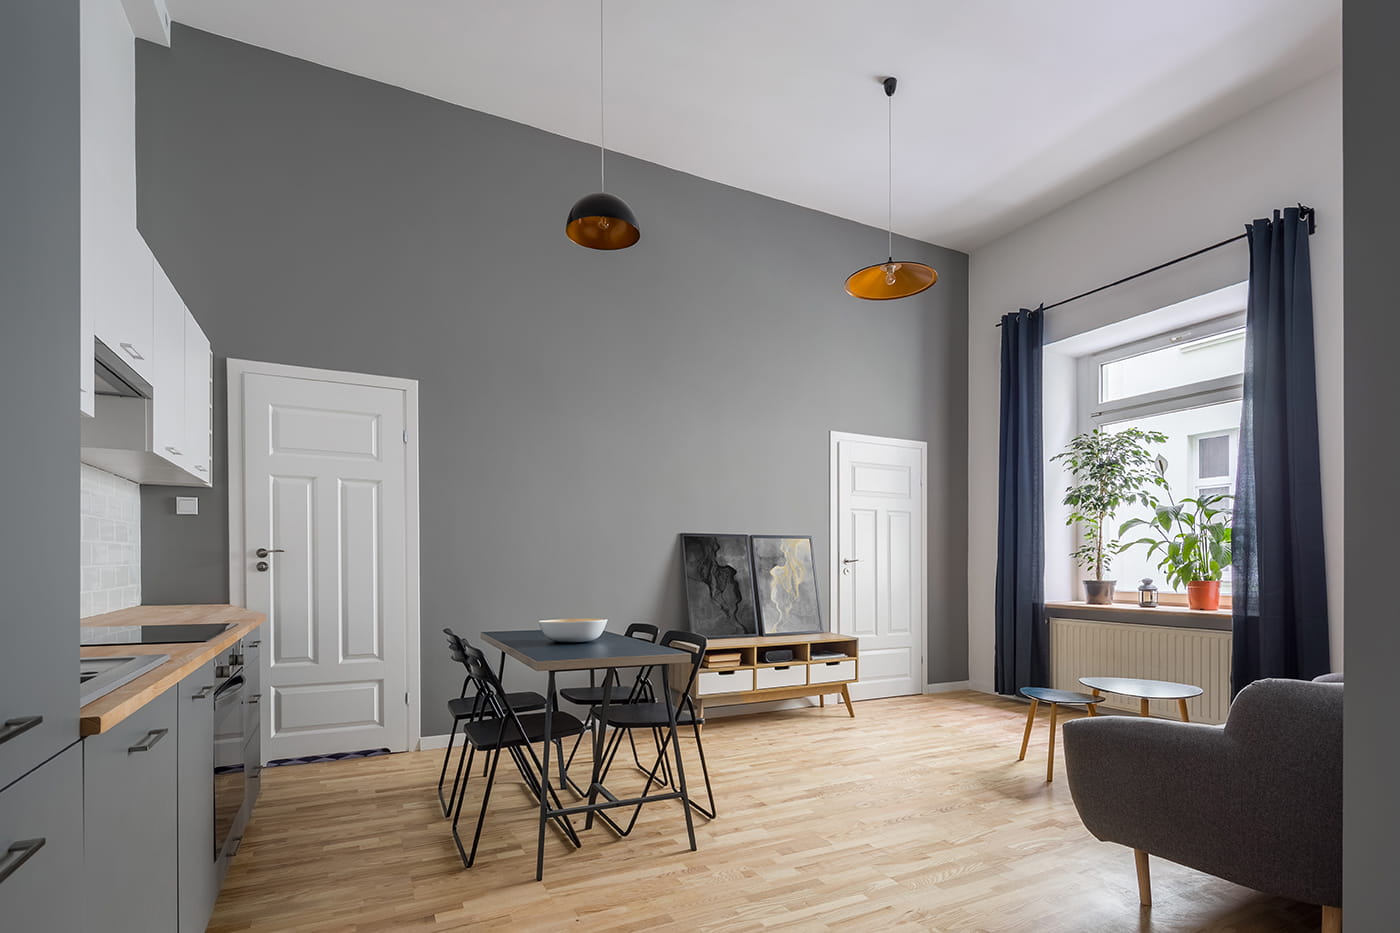
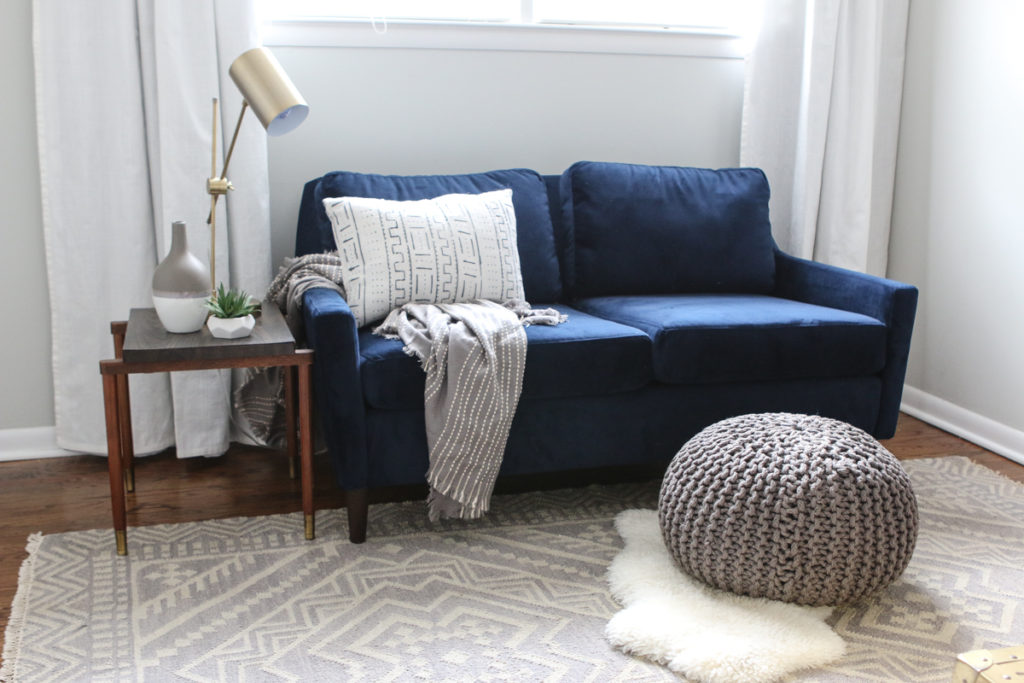
Hanging curtains is often one of the first projects new homeowners tackle. Curtains bring style, warmth and texture to your room’s design. But how do you transform your window from this …
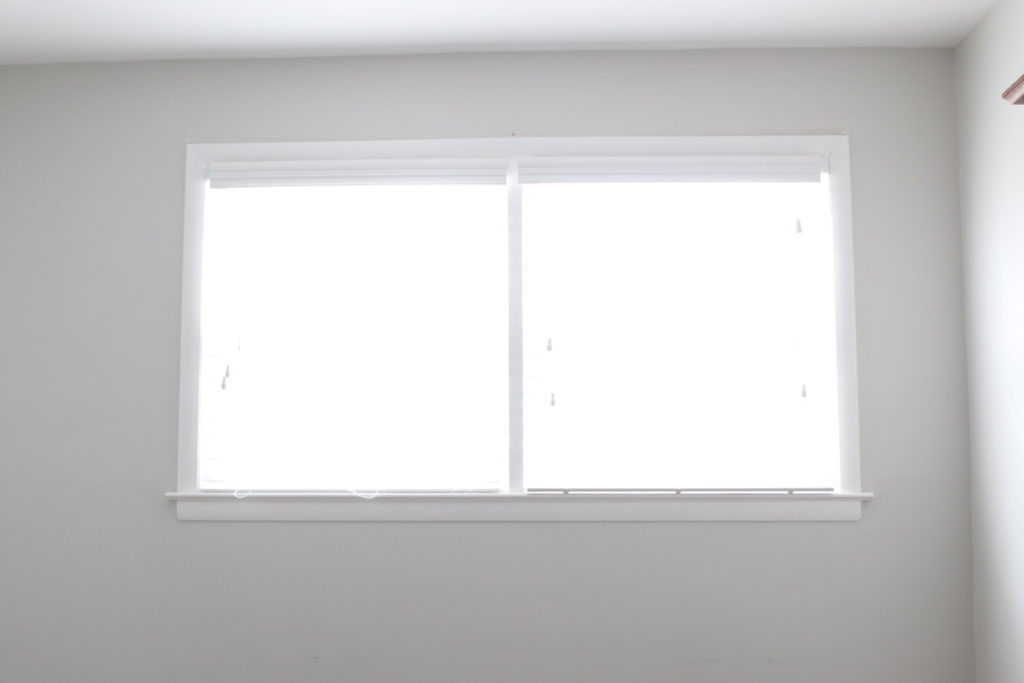
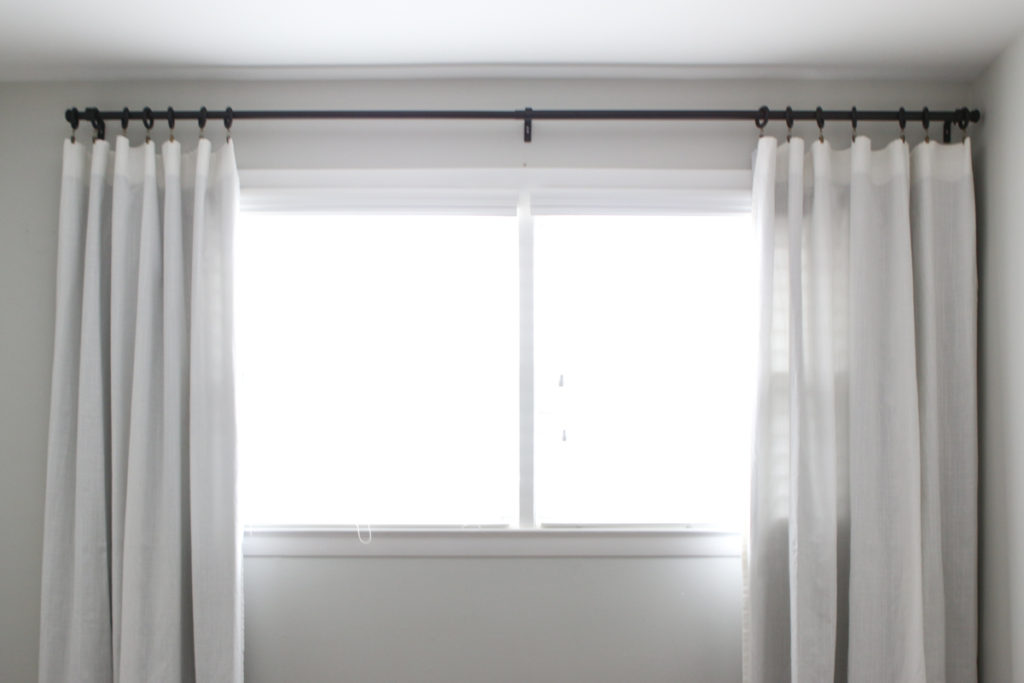
To this?
Don’t worry, we’ve got you covered!
Follow this step-by-step tutorial to easily hang your new curtains and avoid some of the most common design mistakes.
Supplies
- Curtain rod (usually comes with hanging hardware)
- Curtains
- Curtain hooks (depending on curtain style)
- Drill and drill bits (pilot hole drill bit and screwdriver drill bit)
- Stud finder
- Anchors and screws
- Pencil
- Tape measure
- Level
Step 1: Choose the right curtains
Choosing the perfect curtain doesn’t have to be hard, but there are some points to keep in mind for selecting a curtain that is the perfect size for your space.
When you hang your curtain rod higher than the window — almost to the ceiling — the window will look bigger, and the curtains themselves will look much more high-end. But hanging the curtain rod higher than the window requires curtains that are longer than your typical curtain.
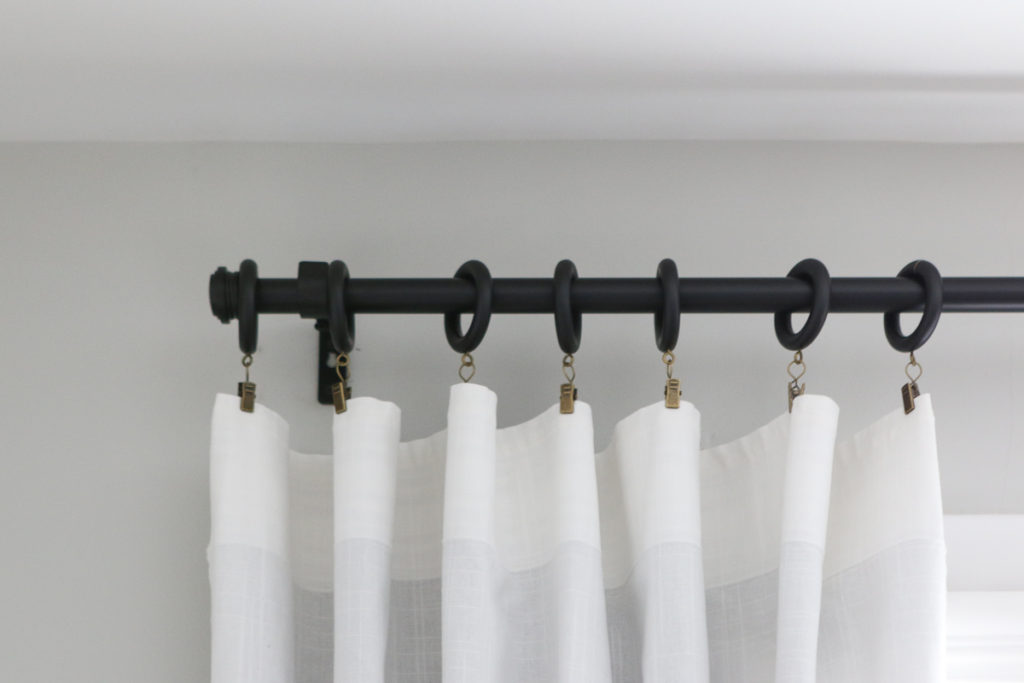
The first thing you need to decide is how the curtains will attach to the rod. We used these curtain rings with hooks, which we took into account when calculating the length of the curtain.
However, if you’re using curtains that feed directly onto the rod, you will not have to account for the length of the rings.
Once you have chosen the rod and decided how the curtains will attach to it, it’s time to figure out how long the curtains need to be.
To make the window appear larger than it actually is, and to make the ceiling appear higher, you want the curtains to hang above the window and flow all the way to the floor.
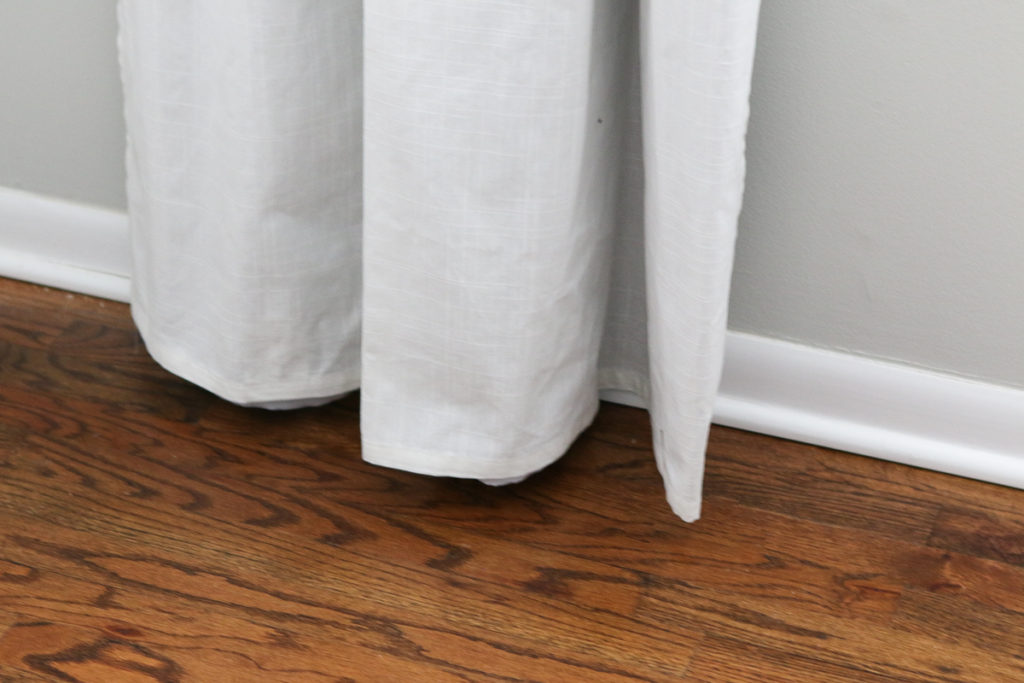
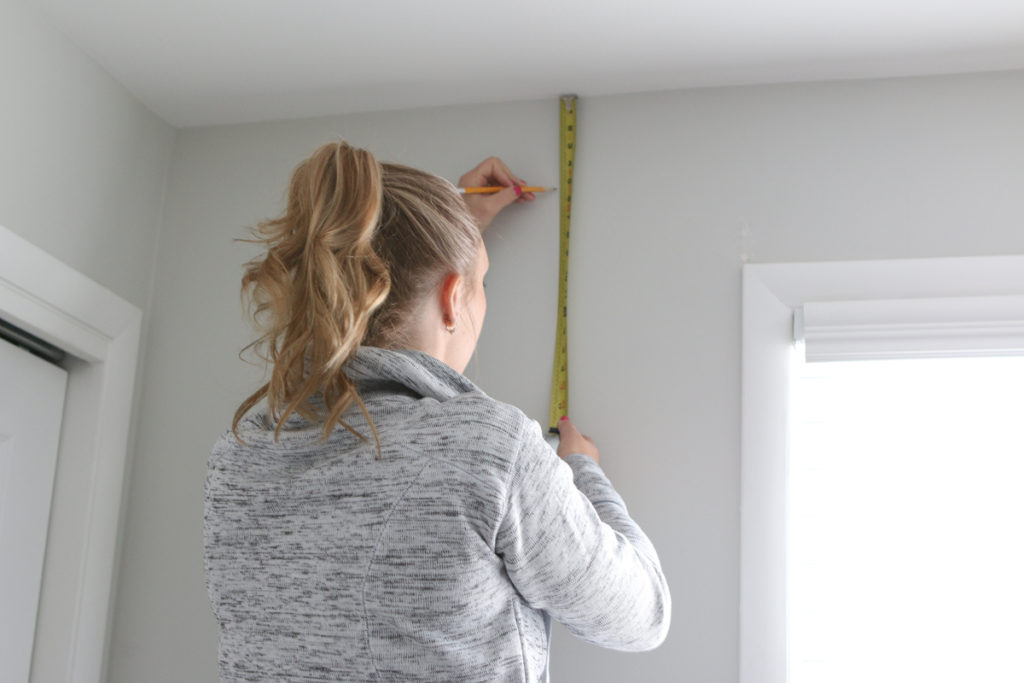
Traditionally, the rod is hung about 4 inches below the ceiling to achieve this look. Take the measurement of the height of the entire wall and subtract 4 inches. Then subtract the length that will be provided by the curtain hooks, if you’re using them. Your final number is the length of the curtains you need to purchase.
Rookie Tip: If you can’t find curtains to fit this exact measurement, you may have to hem them. In that case, wait until after you hang the rod to hang the extra-long curtains, and then start the hemming process. This will ensure the curtains are the exact length you want them to be.
We’re no seamstresses, so we took ours to our local cleaners to get them hemmed.
Step 2: Measure some more
Now it’s time to figure out where to hang the hardware to attach the curtain rod. We chose to hang our curtain rod 5 inches from the ceiling. Don’t be afraid to hang them even closer to the ceiling for an even longer and more dramatic window treatment.
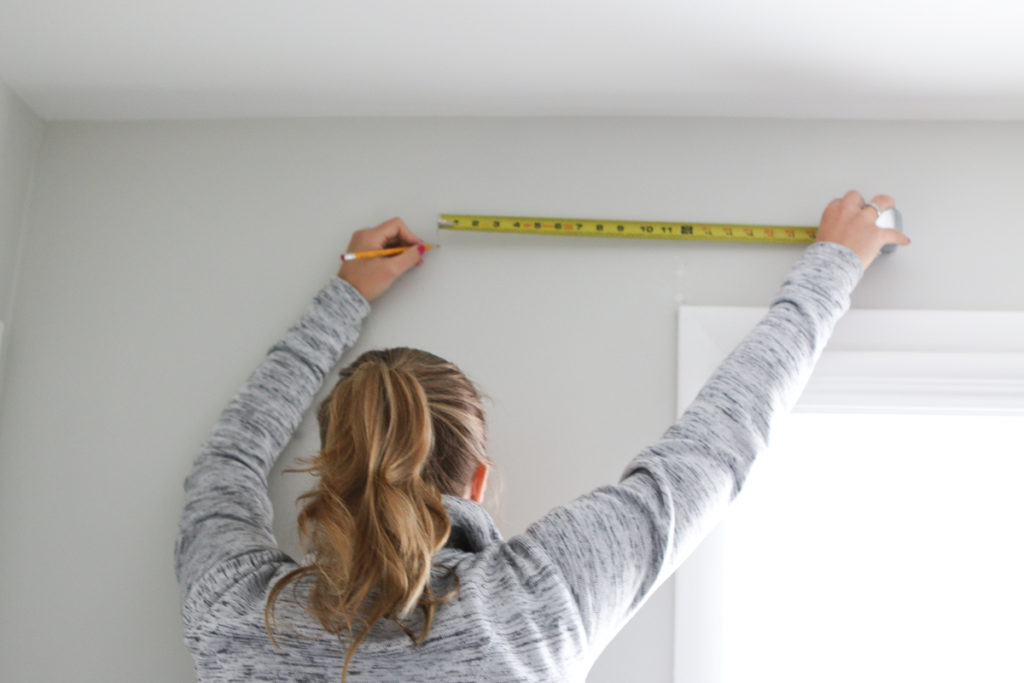
Next, determine how wide you want the curtain rod to be outside of the window frame.
We had a wall on one side of the window, and we wanted to keep the rod symmetrical on each side of the window, so our width was limited. We ended up hanging the rod’s hardware 10 inches outside of the window frame.
Rookie Tip: Many people make the mistake of placing the curtain rod directly on the outside of the window frame. But anchoring the rod 8 to 12 inches outside the frame on each side will make the window appear much larger.
Plus, when the curtains are open, they won’t block any part of the window — instead, they’ll only block the wall. That means you’ll get much more light flooding into the room.
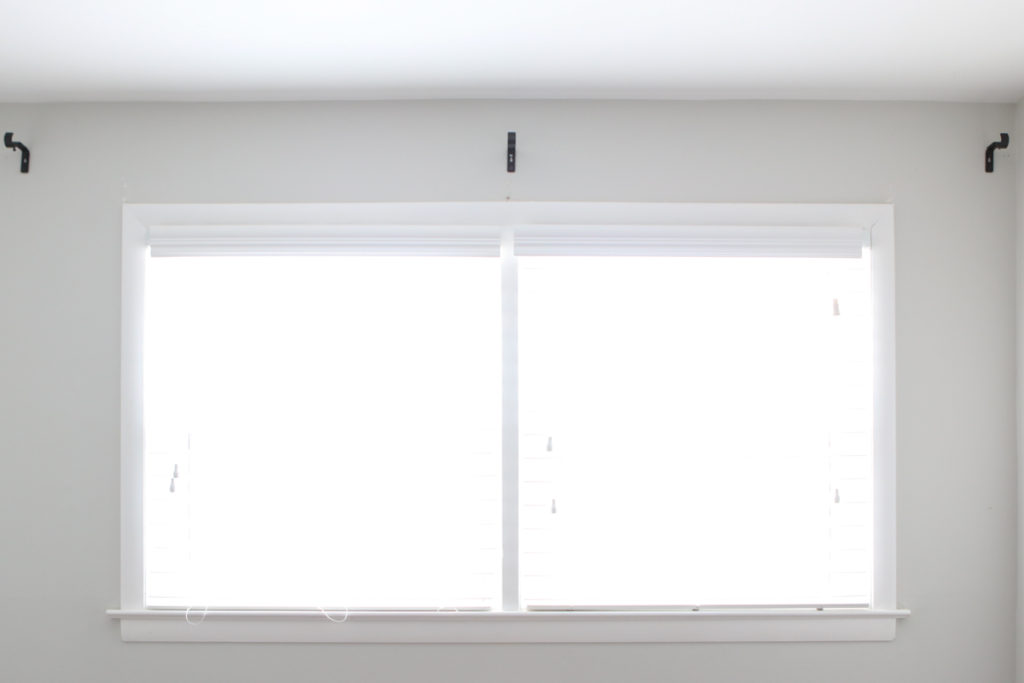
Step 3: Make the mark
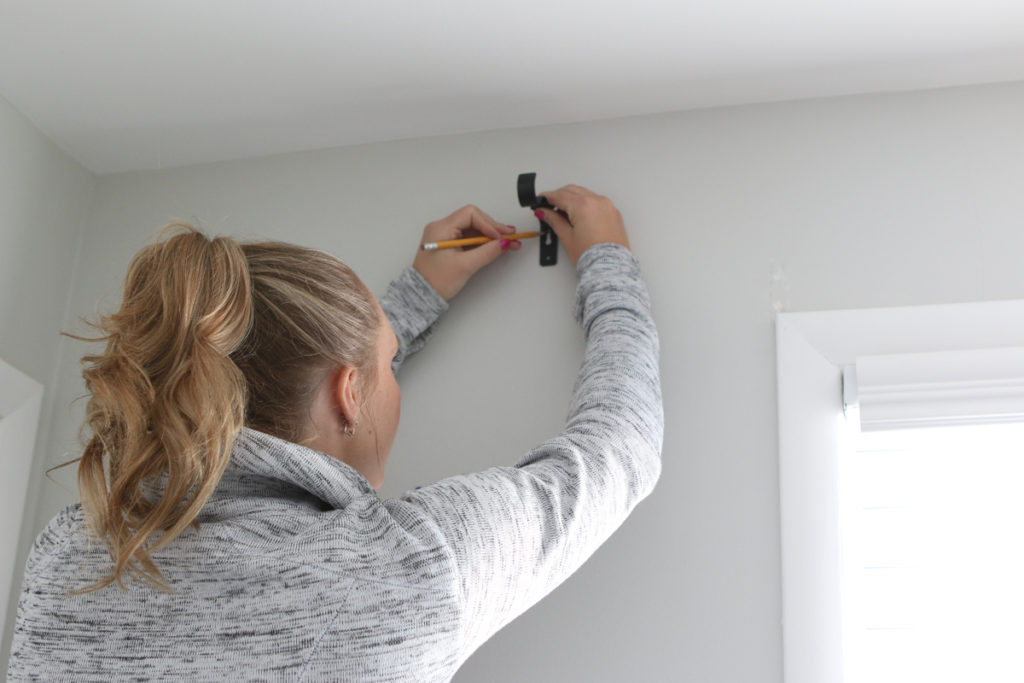
Once you have all your measurements set, hold up the rod’s hardware and mark exactly where you want to drill your pilot holes to attach the rod securely. We used a level while holding up the hardware to make sure it was vertically level, or plumb.
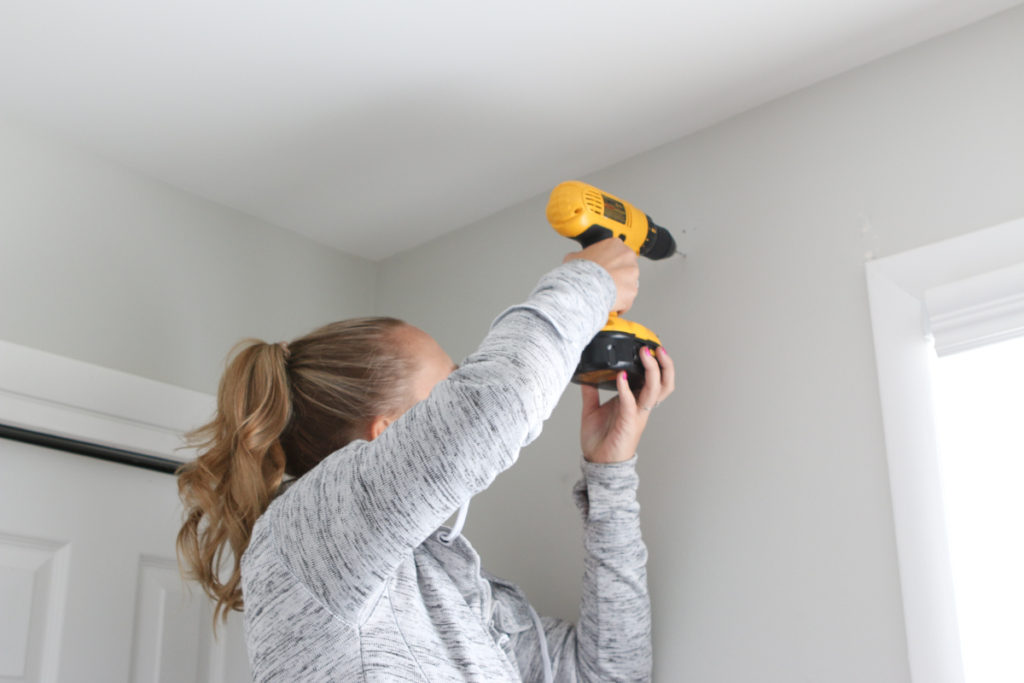
Step 4: Check for studs and start drilling
When you have everything marked, it’s time to start drilling. It’s important to use a stud finder to identify whether you’ll need to use a screw and an anchor (in areas with no studs) or just screws (when studs are available) to hang each piece of hardware.
In our case, two of the pieces of hardware needed to be reinforced with screws and anchors, while one of the pieces of hardware did not need anchors, just screws.
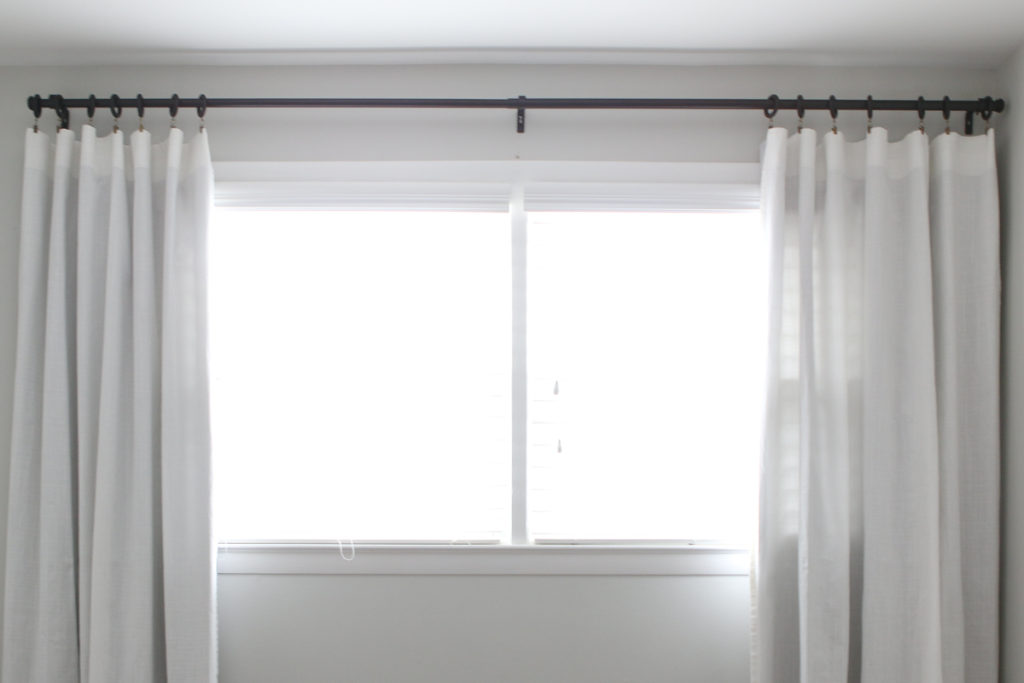
Step 5: Hang the curtains
Using the marks as your reference, you’ll have your curtain hardware hung in no time at all. Before adding the curtains, hang up the rod and make sure it’s level. If it is, it’s time to put up your new curtains.
Attach all curtain rings and put them on the rod. Then put the rod back on the hardware. You may find that the curtain panels need a little steam to get them looking crisp.
Finally, clean up any dust left on the floor by the drilling and move the furniture back into place.
Next time you hang curtains, remember: Go high and wide to get the most professional look in your space.
Related:


